Upgrade Your Space: Kitchen Faucet Installs Made Simple
Find The Perfect Accent For Your Ohio Kitchen

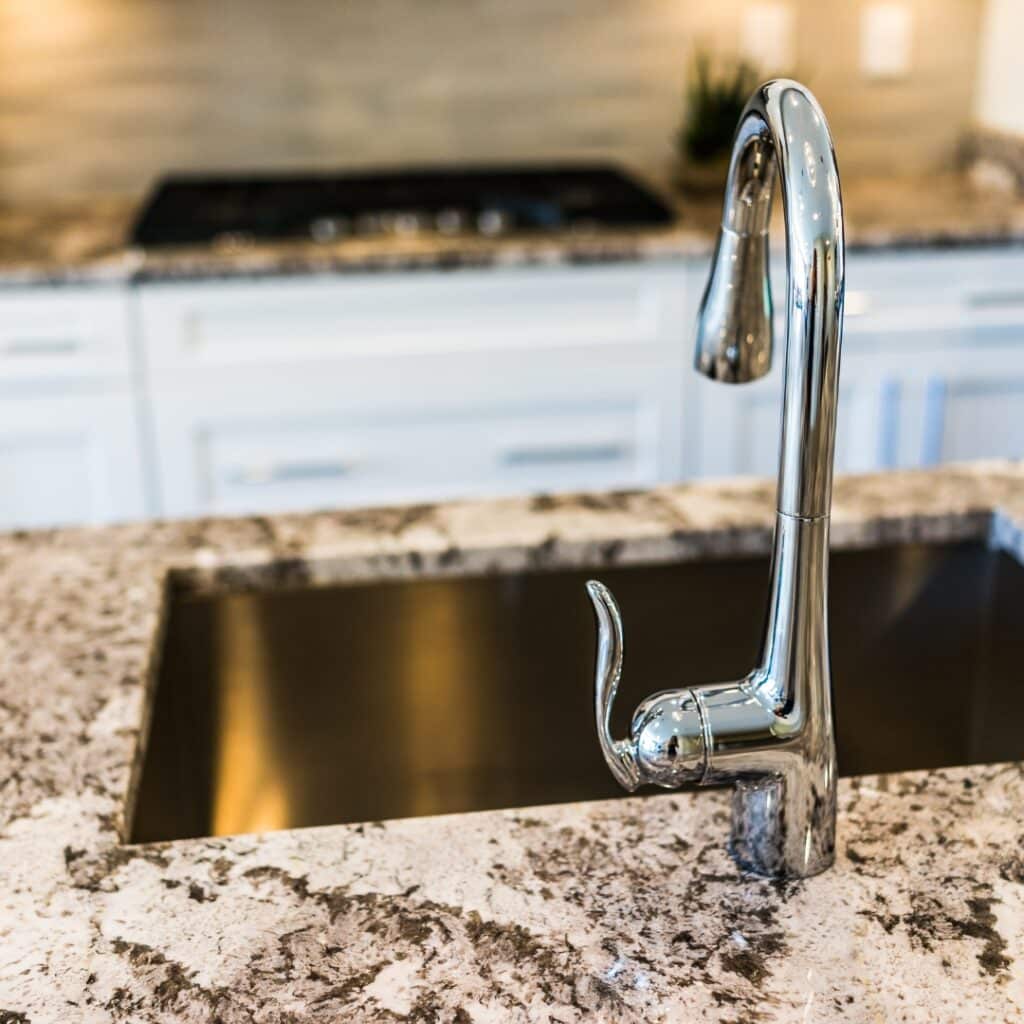
Your kitchen faucet is one of the most used items in your home, yet it often goes unnoticed until something goes wrong. If you’re considering upgrading your kitchen faucet, there are many benefits. A new faucet can improve the look of your kitchen and make tasks like washing dishes and filling pots easier. DM Interior Remodeling will guide you through preparing for a kitchen faucet installation. We’ll cover everything from the tools you’ll need to how to remove your existing faucet. We’ll also provide step-by-step instructions on how to install your new kitchen faucet and test for leaks. By the end of this article, you’ll know whether a DIY installation suits you and be well on your way to enjoying a more functional and stylish kitchen.
Why Upgrade Your Kitchen Faucet?
Upgrade your kitchen faucet to enhance functionality and aesthetics. Enjoy modern features like touchless technology and adjustable spray settings for added convenience. Save water with options for reduced flow and leak prevention. Customize your space with a faucet that complements your decor. Increase the value of your home with this attractive investment.
Table of Contents
Benefits of Upgrading Your Kitchen Faucet
Upgrading your kitchen faucet goes beyond aesthetics. It enhances water efficiency, reducing costs and environmental impact. Modern designs offer added functionality like pull-down sprayers, while warranty coverage provides peace of mind. A new faucet can prevent leaks and drips, averting potential damage. Moreover, it adds an elegant touch to your kitchen. The upgrade not only elevates the look of your space but also makes kitchen tasks more efficient.
When to Consider Replacing Your Faucet
If persistent leaks or low water pressure are noticeable, it might be time for a replacement. Visible corrosion or mineral buildup can also signal the need for an upgrade. Lacking modern features like a spray head or adjustable settings is another indicator. Additionally, diminished aesthetic appeal and outdated, inefficient water-saving features are valid reasons to consider a replacement.
Preparing for Kitchen Faucet Installation
Gather the necessary tools and equipment before embarking on the kitchen faucet installation. Clear the space under the sink for easy access during installation, and remember to turn off the water supply to avoid mishaps. Address any existing issues like leaks or mold before proceeding. Ensure the new faucet is compatible with existing plumbing connections for a smooth installation.
Tools You Will Need
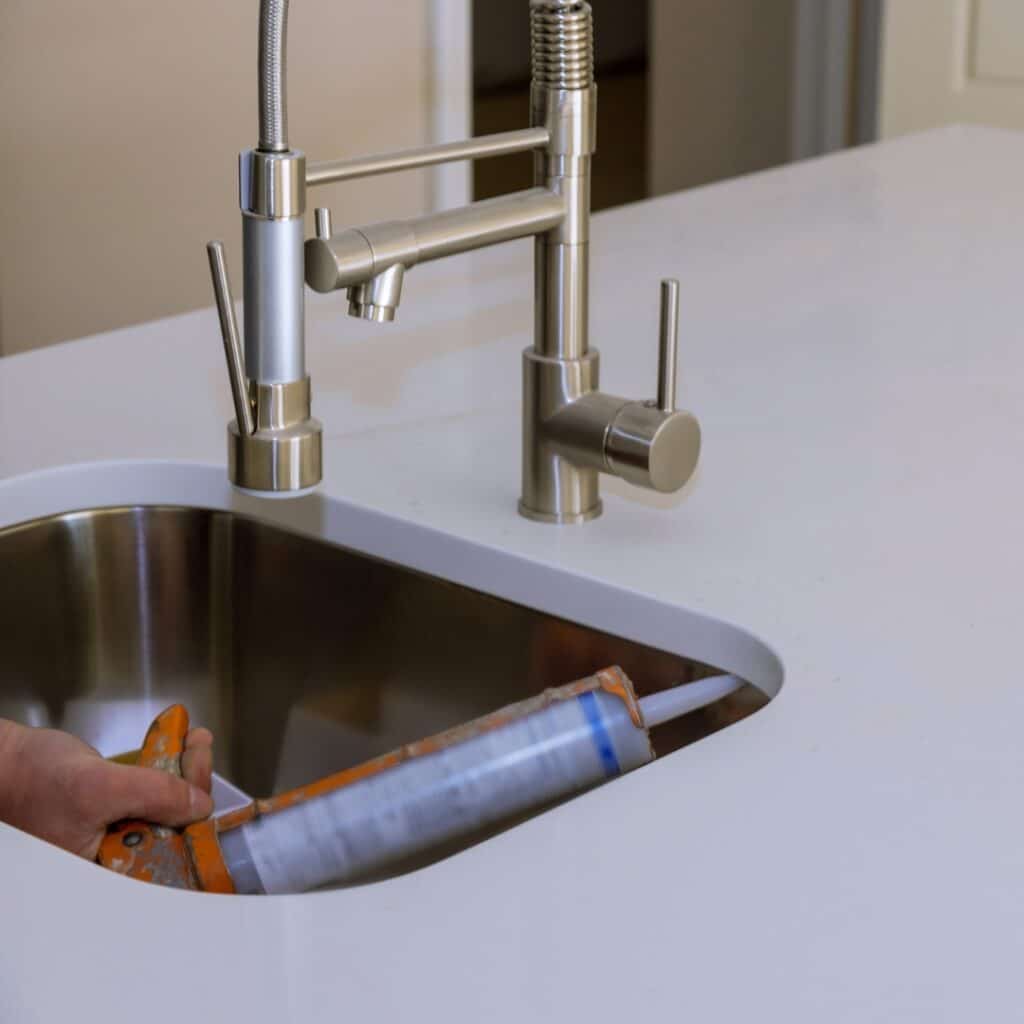
Prepare essential tools such as an adjustable wrench, basin wrench, Teflon tape, and putty knife for a successful kitchen faucet installation. Additionally, have a flashlight, rag, and caulk ready for sealing. Supply of plumber's putty, gasket, and caulk aids in creating secure connections and preventing leaks. Extra hands can benefit specific installation steps, especially when mounting the new kitchen faucet. Gathering necessary tools, including water supply lines, hoses, and fittings, is crucial for success.
Clearing Out Under the Sink
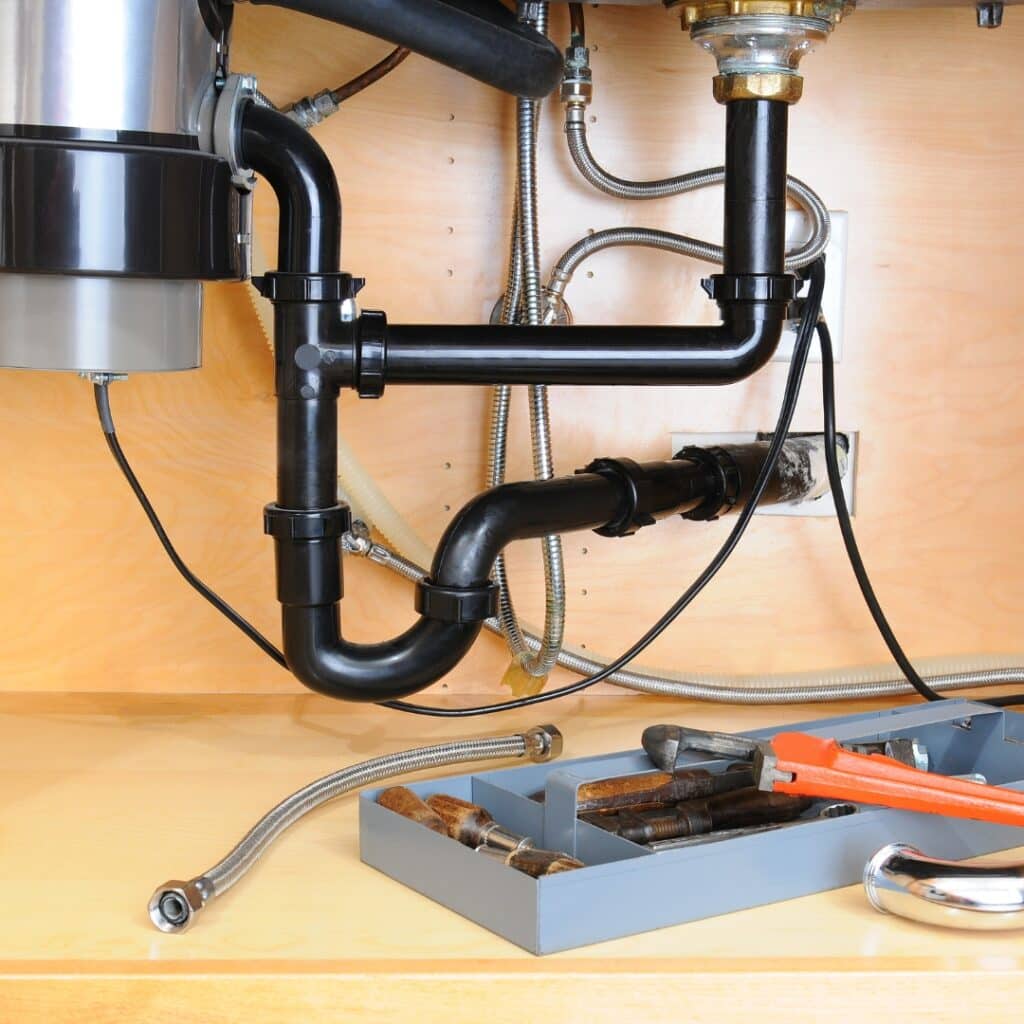
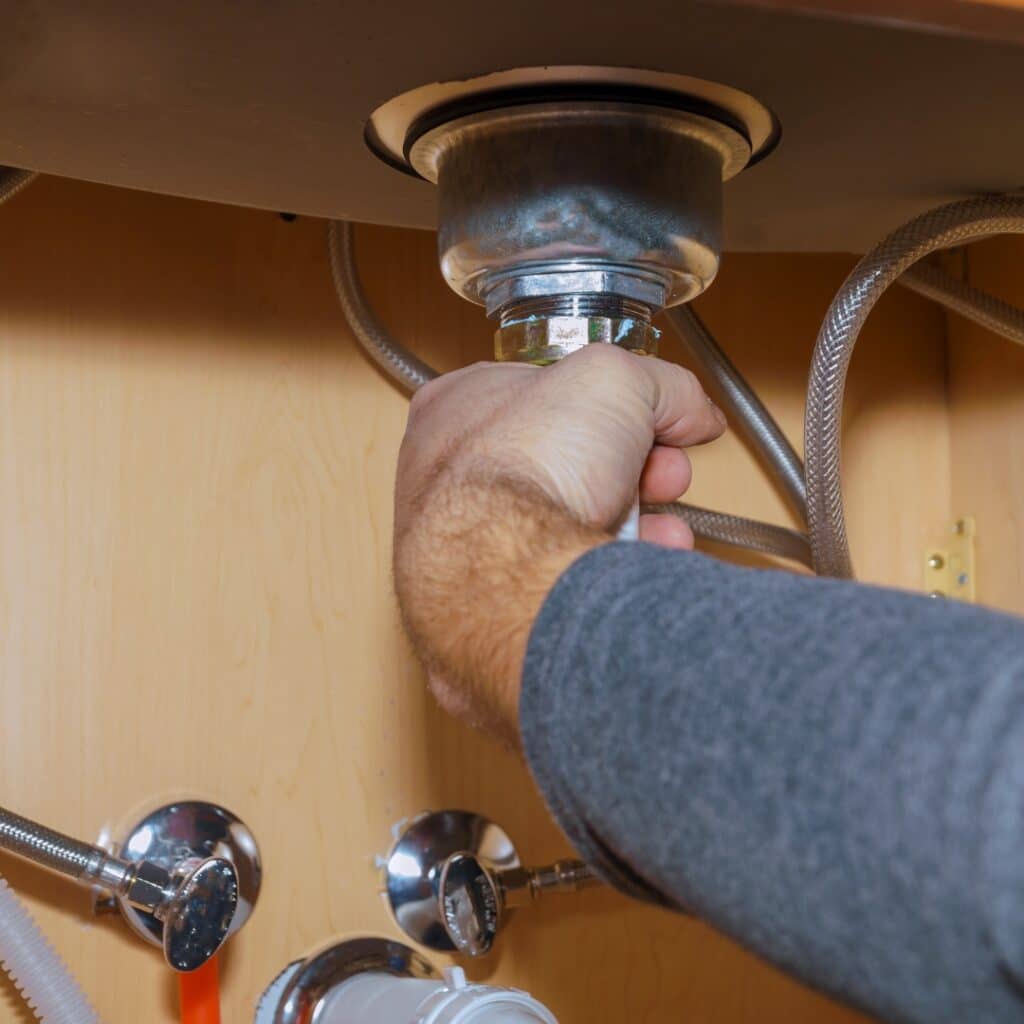
First, clear everything from beneath the sink to create ample working space. Then, shut off the water supply valves and disconnect the old faucet and supply lines. Utilize a basin wrench to remove the nut securing the old faucet. Follow the manufacturer's instructions to install the new faucet and connect the supply lines. Finally, check for leaks and test the new faucet before placing everything back under the sink.
Removing Your Existing Kitchen Faucet
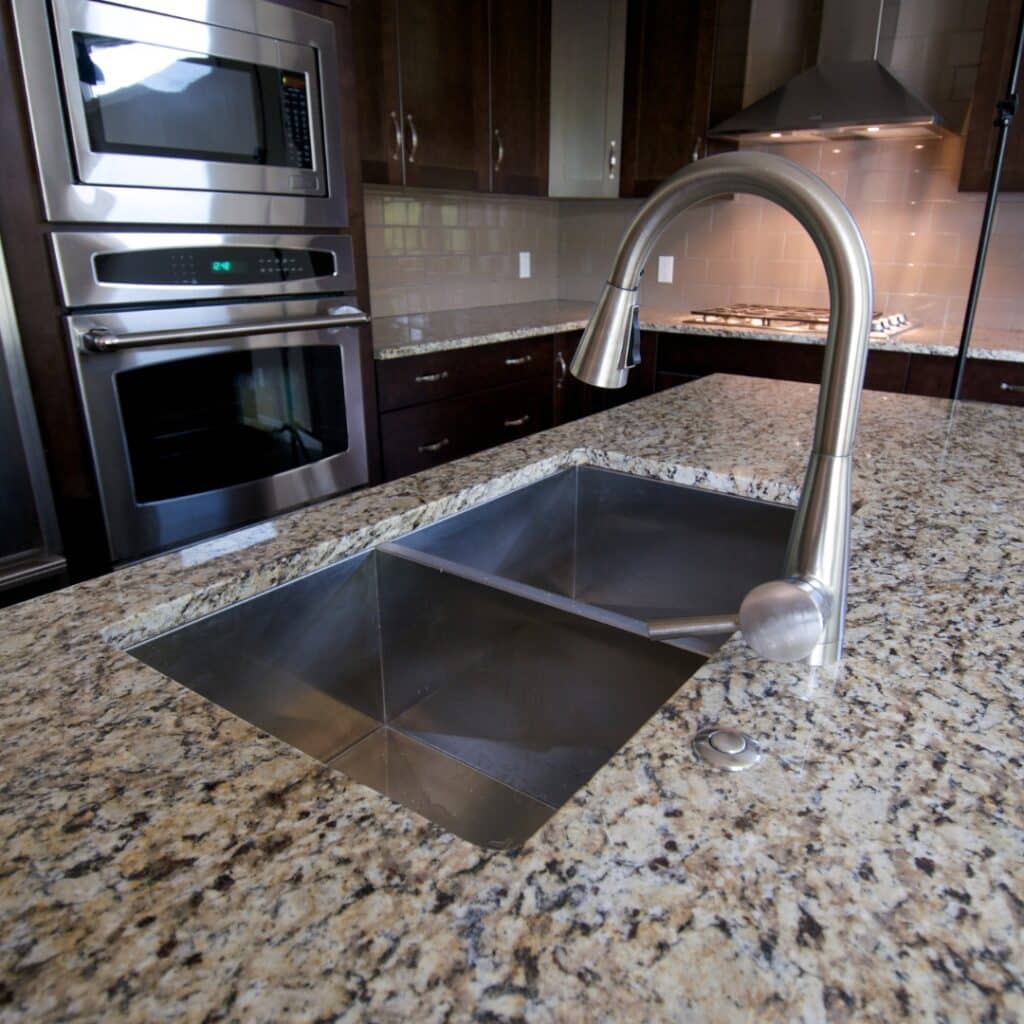
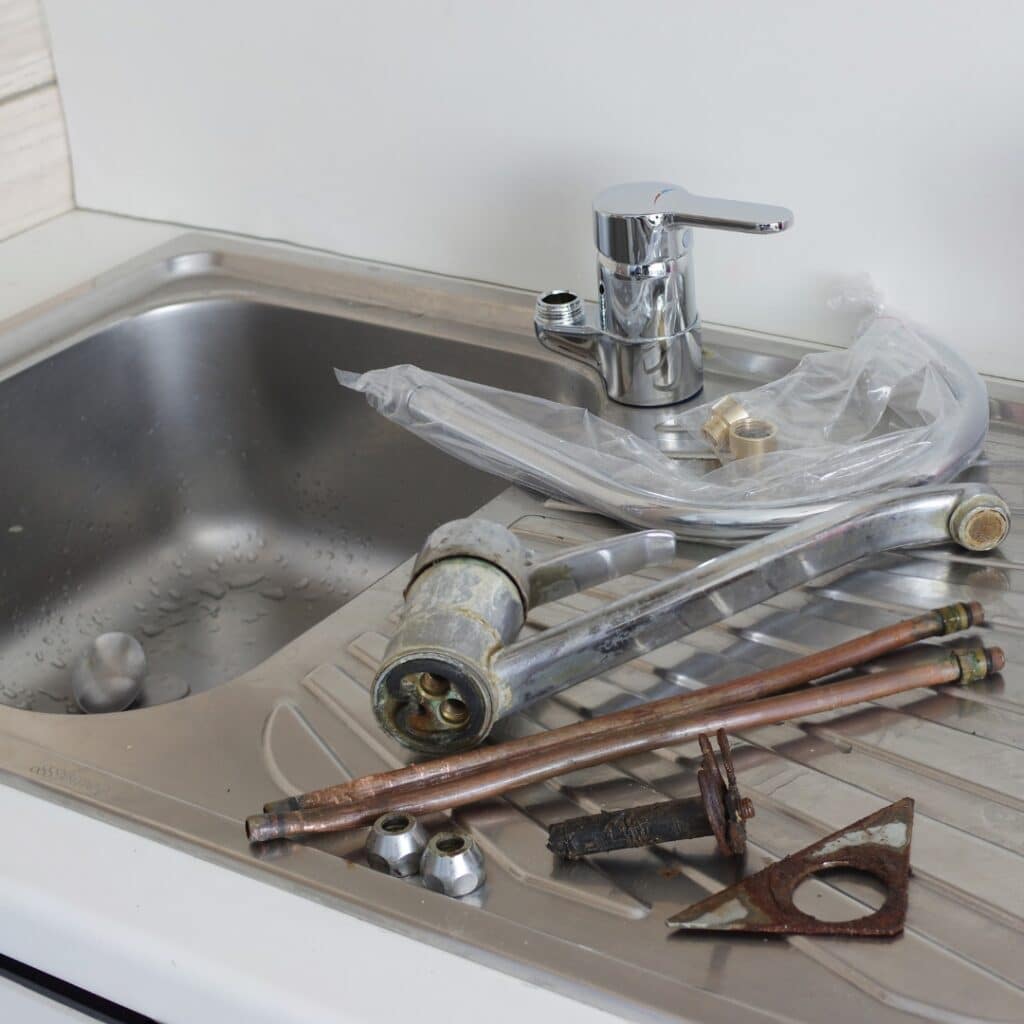
Disconnecting the water and hose involves turning off the supply line connections and unscrewing the hose connections. Removing the faucet from the sink requires using a basin wrench to detach the nuts and lifting the faucet body out of the hole. Check for leaks and remove any debris or old sealant from the countertop. This step is essential for ensuring a clean surface for installing the new kitchen faucet.
Disconnecting the Water and Hose
Before removing the faucet from the sink, it's crucial to disconnect the water and hose. Start by turning off the water supply valves. Once the water is off, disconnect the old faucet and supply lines. Use a basin wrench to remove the nut, securing the old faucet. This ensures a smooth transition when installing the new faucet according to the manufacturer's instructions. Check for leaking faucets to avoid any post-installation issues.
Removing the Faucet from the Sink
When removing the faucet from the sink, turn off the water supply. Disconnect the water supply line connections and hose. Use a unique tool if needed to loosen the faucet body. Check for any additional connections, such as the soap dispenser or side spray, and remove them. Once all connections are detached, carefully lift the faucet from the sink, ensuring no damage to the countertop.

Steps to Install Your New Kitchen Faucet

Position the new faucet body in the center hole of the sink. Secure it in place using the washer and nut provided. Connect the hot and cold water supply lines to the corresponding knobs on the faucet. Use a unique tool if necessary. Test the water flow by turning on the supply valves. Look for leaks and address them immediately. Once everything is secure, attach the soap dispenser and aerator to complete the installation.
Positioning the Faucet
Proper positioning of the faucet is crucial to ensure both functionality and aesthetics of the kitchen sink. Consider the spout’s reach and height for convenient use, allowing ample clearance for oversized pots and pans. Position the faucet centrally to maximize basin coverage and align it with the water supply lines for seamless installation. Correct positioning is essential for optimal performance and an appealing kitchen upgrade.
Securing the Faucet in Place
Securing the faucet in place is crucial for stability and preventing wobbling. Using an adjustable or basin wrench, securely fasten the mounting nut with the appropriate torque to avoid damaging the sink. Before tightening the mounting nut, double-check the alignment of the faucet and ensure that the deck plate, if used, fits snugly against the sink surface for a polished look. This provides the faucet’s stability and functionality.
Testing for Leaks
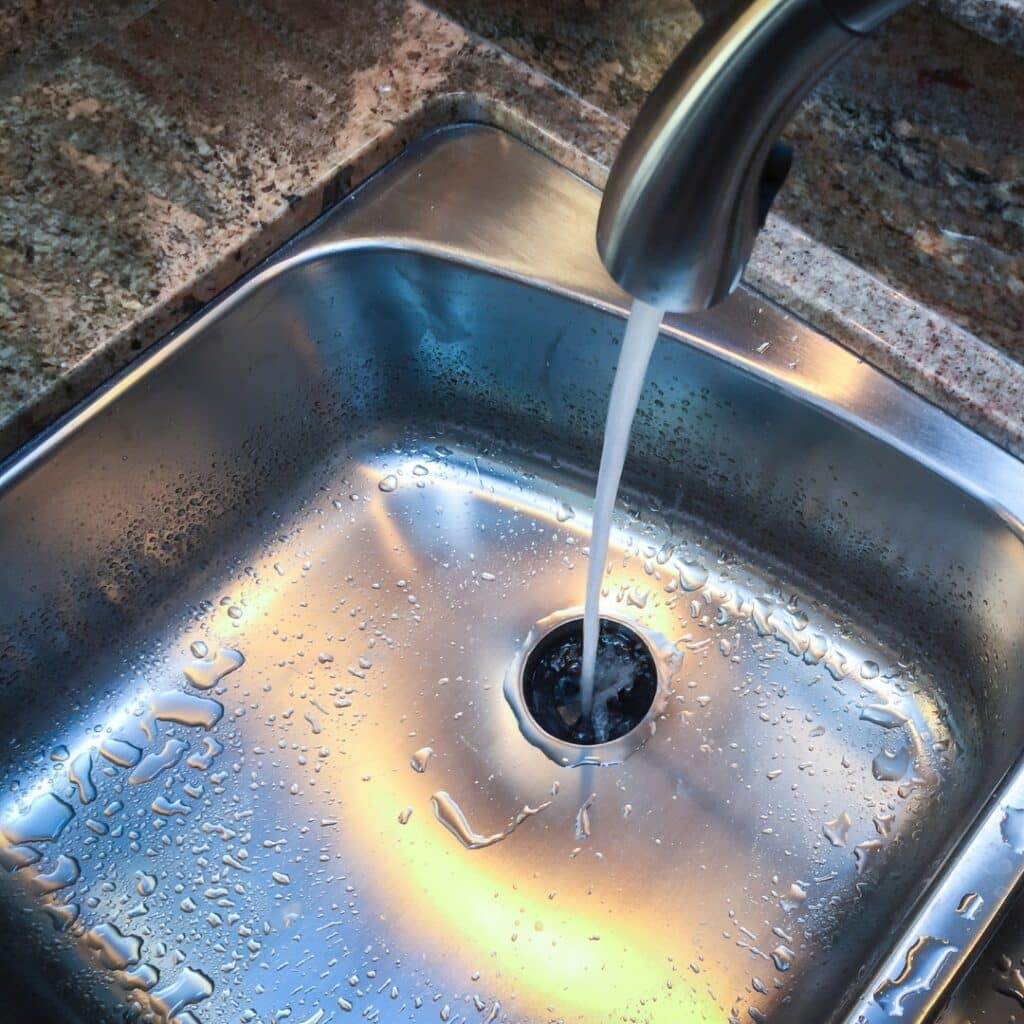
After turning on the water supply lines, carefully examine for drips or seepage. Inspect under the sink for signs of water leakage once the faucet is in use. Test the hot and cold water lines separately to detect potential leaks, and promptly address any identified leaks to prevent water damage and wastage.
Can Faucet Installation Be A DIY Project?
Faucet installation can be a manageable DIY project with the right tools and guidance. Following the manufacturer’s instructions, homeowners can successfully install a new kitchen faucet. This saves on professional plumbing costs and empowers homeowners to take control of their upgrades. Online tutorials and resources provide step-by-step guidance for a smooth installation process. Taking proper safety precautions is essential for a successful DIY faucet installation.
Conclusion
In conclusion, upgrading your kitchen faucet not only enhances your space’s overall appearance but also brings many benefits. Improved functionality, increased water efficiency, and better control over water flow are just a few advantages of a new kitchen faucet. If your current faucet is old, leaking, or not meeting your needs, it might be time to consider replacing it. While the installation process may seem daunting, it can be a manageable DIY project with the right tools and preparation. However, it’s always best to consult a professional plumber if you’re unsure or uncomfortable with the process. So upgrade your space and enjoy the convenience and style that a new kitchen faucet can bring.


